WELCOME FELLOW PAPERCRAFTERS!
I have been working on a workshop creating 4 double page layouts using the new CTMH Aurora Paper Packet and Cricut design files.
Today I am going to show how to create a cutom title.
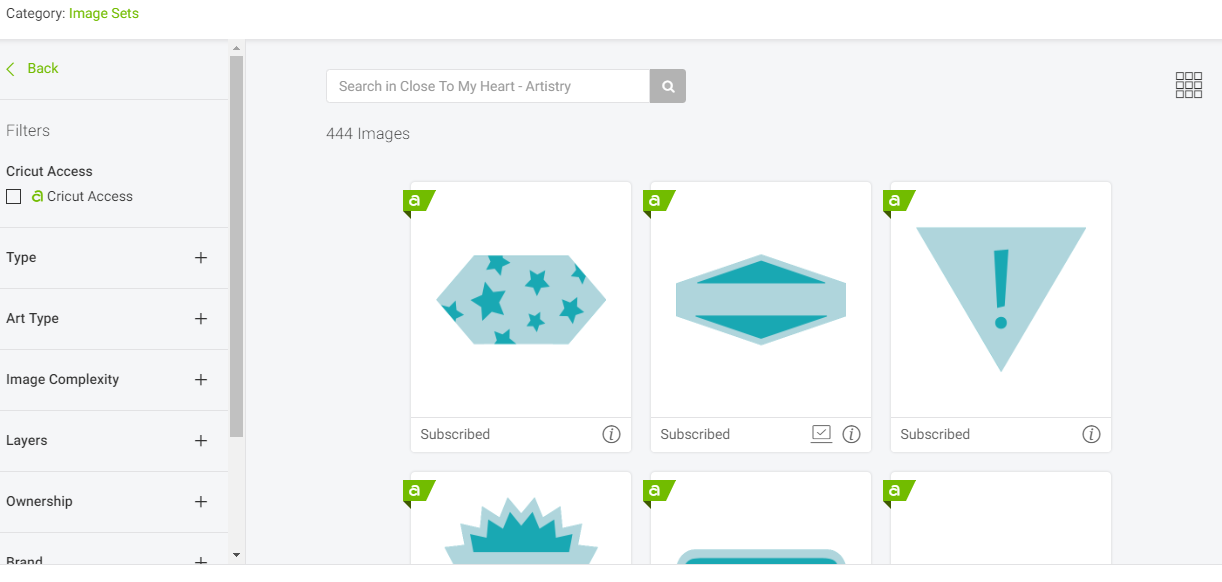
First, I choose a CTMH banner image. Choosing this image is way harder than it needs to be (lol). I know the image is part of the Close to My Heart Artistry collection so I search for this collection.

Once I find the collection, I click on the collection to open it.

First, I choose a CTMH banner image. Choosing this image is way harder than it needs to be (lol). I know the image is part of the Close to My Heart Artistry collection so I search for this collection.


As shown in the picture, I will now see the images in the collection. I will need to scroll to find the banner I want to use.
 I "insert" the Hexagon Banner image into my design space file.

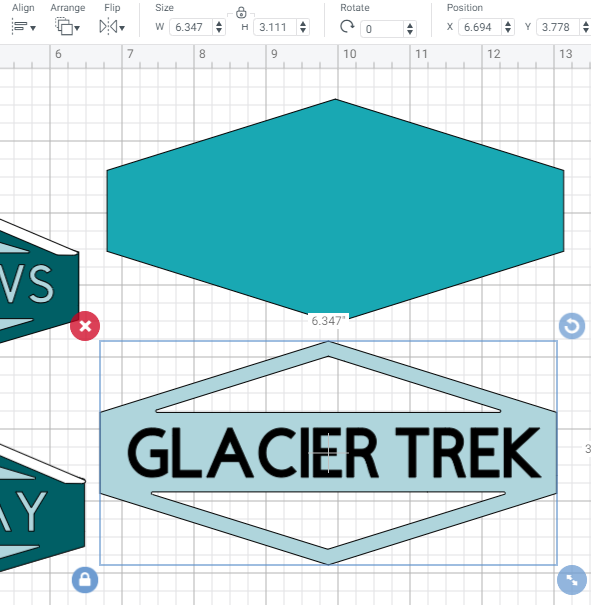
Next, I ungroup the background from the front.

This will allow me to add a title to the banner. Next I insert the text I want.
 After inserting the text, I move it on top of the banner and adjust the size to fit the banner.
 After the sizing is correct, I choose both the text and the banner by clicking on them in the right side bar.

I need to choose both images so I can "slice" the words from the banner using the slice button at the bottom right of the side bar.

Now move the words away from the banner and delete the words.

Lastly move the banner back on top of the background. Your custom title is complete.

More tomorrow on my Alaska album.

Next, I ungroup the background from the front.

This will allow me to add a title to the banner. Next I insert the text I want.


I need to choose both images so I can "slice" the words from the banner using the slice button at the bottom right of the side bar.

Now move the words away from the banner and delete the words.

Lastly move the banner back on top of the background. Your custom title is complete.

More tomorrow on my Alaska album.
Stay well and Happy crafting!!
TINA Stanczak
Pinterest | https://www.pinterest.com/niallsmama
No comments:
Post a Comment